React Native Expo Build & Deploy Mobile Apps Fast

Introduction
React Native Expo: Build & Deploy Mobile Apps Fast is a modern approach to building cross-platform mobile applications using React Native with the help of the Expo ecosystem. Instead of dealing with complex Android Studio or Xcode setups, Expo simplifies development so you can focus on writing code and shipping apps quickly.
For Pakistani students—whether you're in Lahore, Karachi, or Islamabad—learning expo react native is a smart move. The local freelance market and startups increasingly demand mobile apps, and Expo allows you to build production-ready apps faster with minimal setup.
Expo also introduces powerful tools like Expo Go, Expo SDK, and expo eas build (Expo Application Services), which enables cloud-based builds for Android and iOS without needing a Mac.
By the end of this tutorial, you will understand how to:
- Build apps using Expo
- Use Expo APIs like Camera and Location
- Deploy apps using EAS Build
- Apply real-world Pakistani use cases
Prerequisites
Before starting this react native expo tutorial, you should have:
- Basic knowledge of JavaScript (ES6)
- Understanding of React (components, props, state)
- Node.js installed on your system
- A smartphone (Android recommended for testing via Expo Go)
- Basic command line usage
Optional but helpful:
- Familiarity with GitHub
- Understanding of REST APIs
Core Concepts & Explanation
Expo Managed vs Bare Workflow
Expo provides two main workflows:
1. Managed Workflow
- No need to write native code
- Everything handled by Expo
- Ideal for beginners and most projects
Example:
Ahmad wants to build a student attendance app. Using managed workflow, he can directly access device features like camera without writing Java/Kotlin.
2. Bare Workflow
- Full control over native code
- Similar to React Native CLI
- Useful for advanced/custom requirements
👉 Most Pakistani students should start with Managed Workflow.
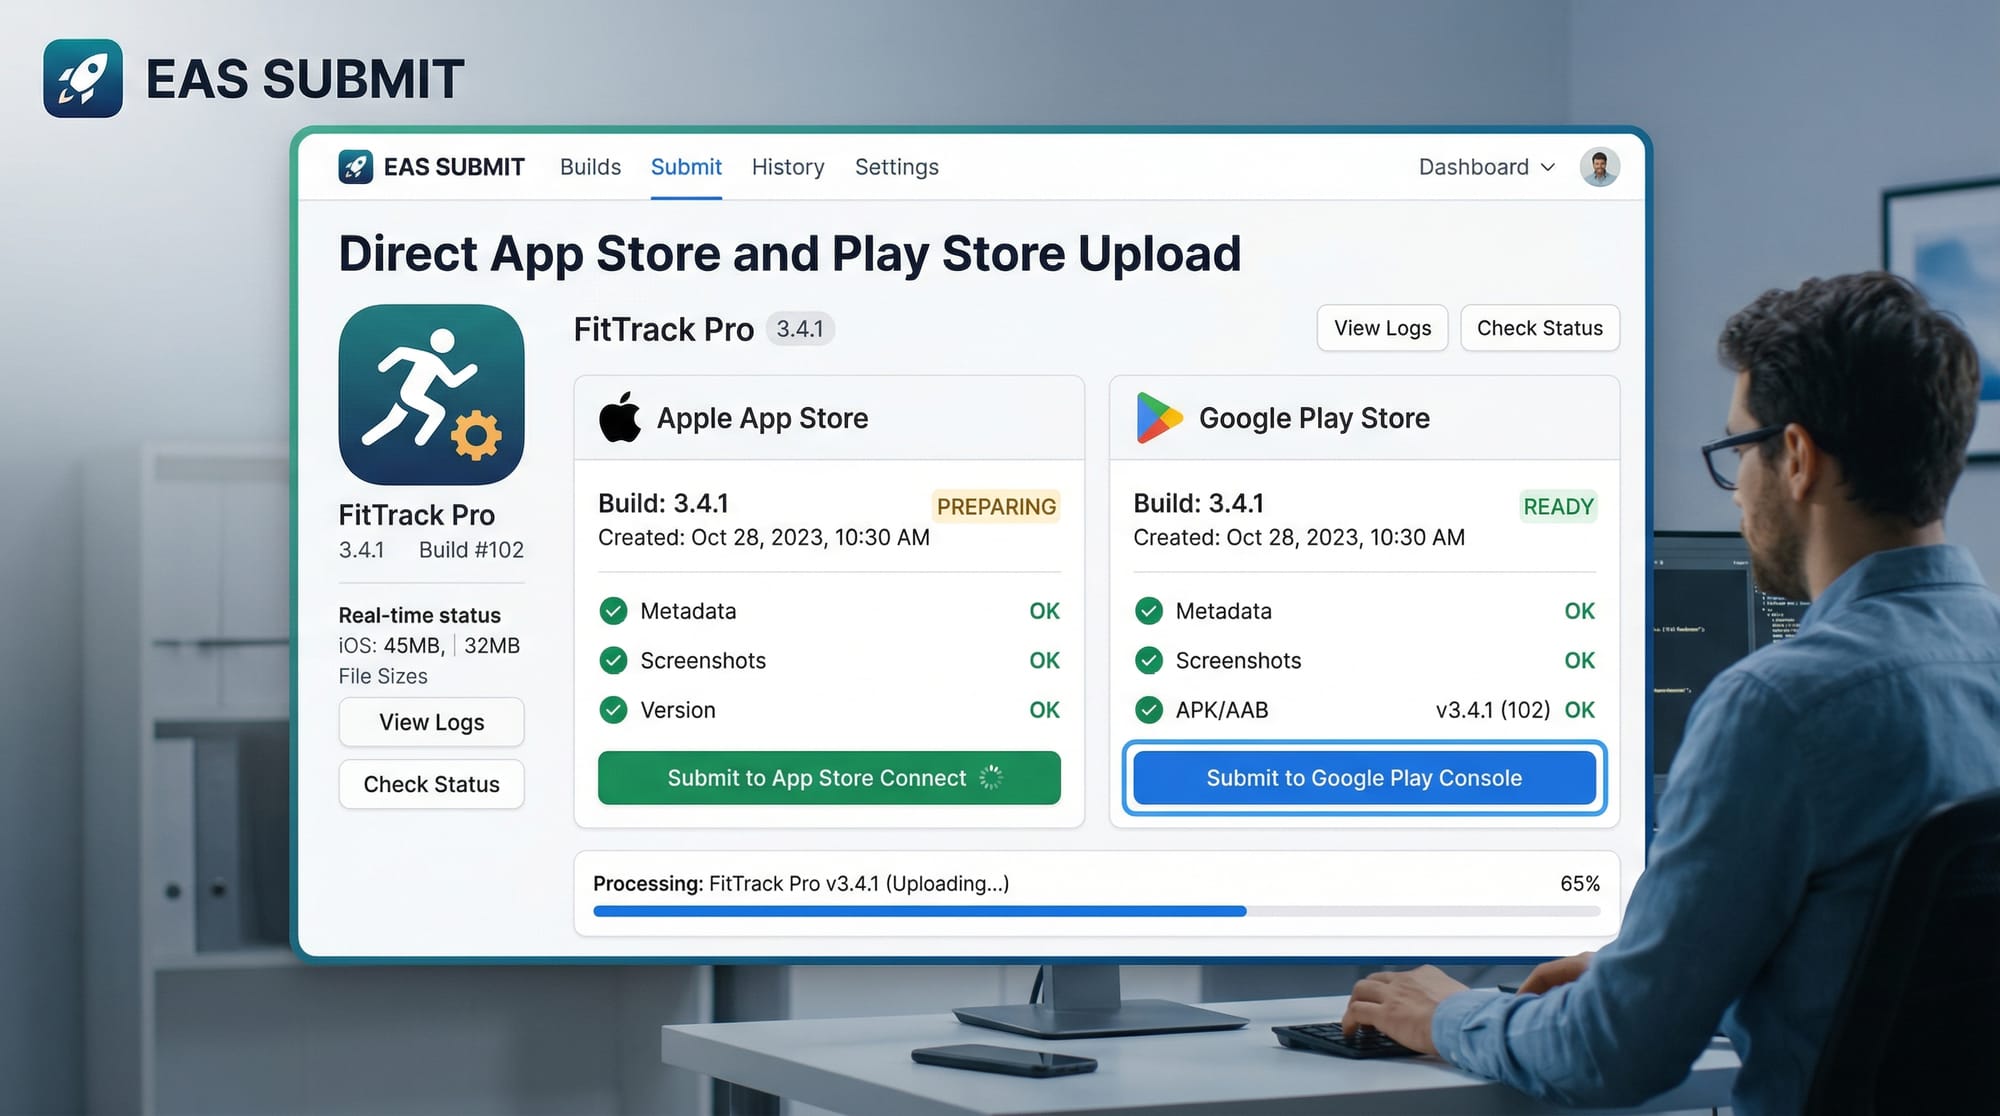
Expo Application Services (EAS Build & Deploy)
Expo introduced EAS (Expo Application Services) to simplify deployment.
Key tools:
- EAS Build → Cloud-based app building
- EAS Submit → Upload to Play Store/App Store
- EAS Update → Push updates without reinstall
Example:
Fatima builds an e-commerce app in Karachi. Instead of installing Android Studio, she uses eas build to generate an APK directly in the cloud.

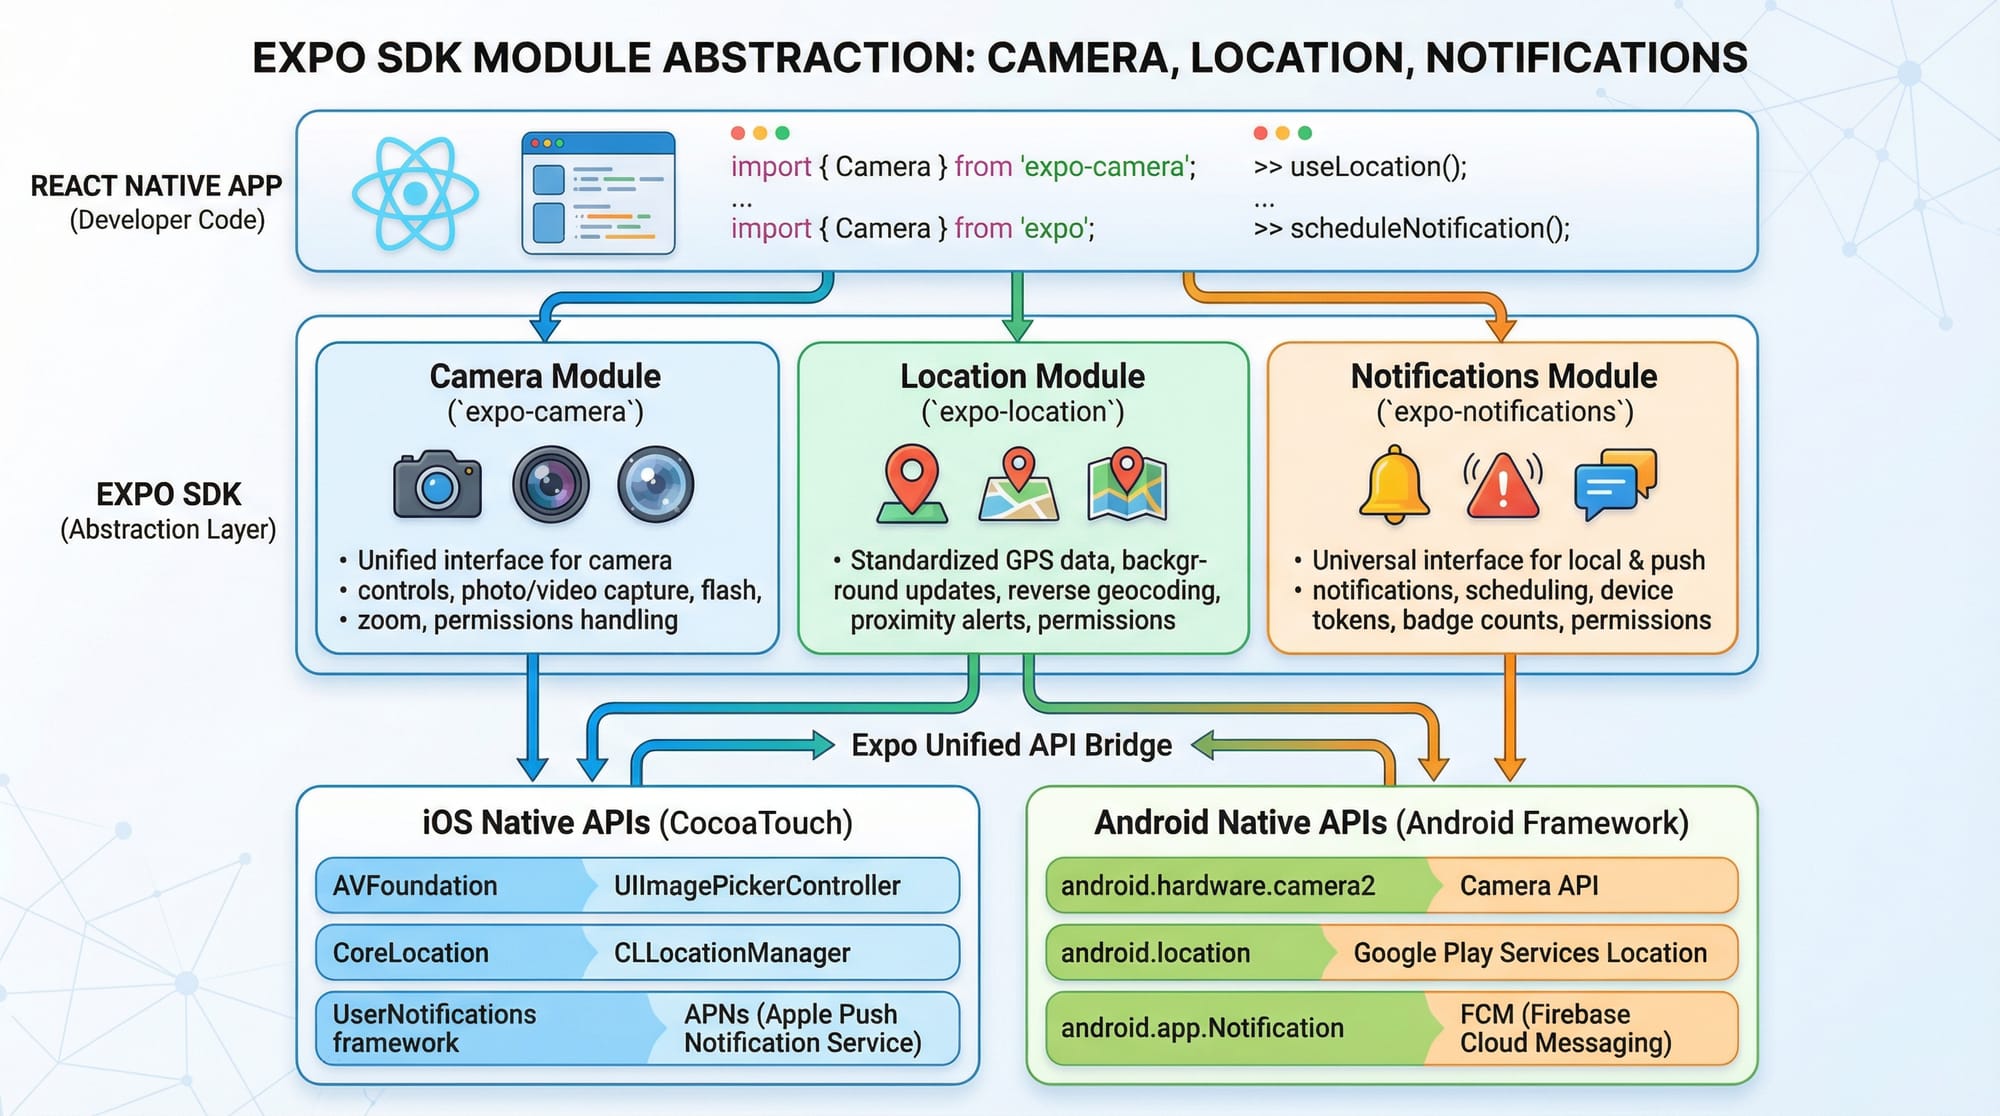
Expo SDK & APIs
Expo provides pre-built APIs for mobile features:
- Camera
- Location
- Notifications
- Sensors
Example:
Ali builds a delivery app in Islamabad that tracks rider location using Expo Location API.
Practical Code Examples
Example 1: Create Your First Expo App
npx create-expo-app myApp
cd myApp
npx expo start
Explanation
npx create-expo-app myApp
→ Creates a new Expo project named myAppcd myApp
→ Moves into the project directorynpx expo start
→ Starts the development server
Now edit App.js:
import { Text, View } from 'react-native';

export default function App() {
  return (
    <View>
      <Text>Hello Pakistan 🇵🇰</Text>
    </View>
  );
}
Line-by-line Explanation
import { Text, View } from 'react-native';
→ Imports UI componentsexport default function App()
→ Defines main component<View>
→ Container (like a div in web)<Text>
→ Displays text on screen
Example 2: Real-World Application — Location Tracker
import { Text, View, Button } from 'react-native';
import * as Location from 'expo-location';
import { useState } from 'react';

export default function App() {
  const [location, setLocation] = useState(null);

  const getLocation = async () => {
    let { status } = await Location.requestForegroundPermissionsAsync();
    if (status !== 'granted') return;

    let loc = await Location.getCurrentPositionAsync({});
    setLocation(loc.coords);
  };

  return (
    <View>
      <Button title="Get Location" onPress={getLocation} />
      {location && (
        <Text>
          Lat: {location.latitude}, Lon: {location.longitude}
        </Text>
      )}
    </View>
  );
}
Line-by-line Explanation
import * as Location from 'expo-location';
→ Imports Expo location moduleuseState(null)
→ Stores location datarequestForegroundPermissionsAsync()
→ Asks user permissiongetCurrentPositionAsync()
→ Fetches GPS locationsetLocation(loc.coords)
→ Saves coordinates<Button>
→ Triggers location fetch{location && (...)}
→ Conditionally displays data
Common Mistakes & How to Avoid Them
Mistake 1: Not Installing Dependencies Properly
❌ Wrong:
npm install expo-location
✅ Correct:
npx expo install expo-location
Why?
Expo ensures compatible versions with SDK.
Mistake 2: Ignoring EAS Configuration
Many students try building APK without setup.
❌ Wrong:
eas build
✅ Correct:
npx expo prebuild
npx eas init
Explanation
expo prebuild→ prepares native codeeas init→ sets up build profiles
Practice Exercises
Exercise 1: Student Fee Calculator
Problem:
Create an app where a student enters tuition fee in PKR and sees total after 10% tax.
Solution:
import { Text, TextInput, View } from 'react-native';
import { useState } from 'react';

export default function App() {
  const [fee, setFee] = useState('');
  const total = fee ? fee * 1.1 : 0;

  return (
    <View>
      <TextInput
        placeholder="Enter Fee"
        keyboardType="numeric"
        onChangeText={setFee}
      />
      <Text>Total: {total} PKR</Text>
    </View>
  );
}
Exercise 2: Simple To-Do App
Problem:
Create a to-do list for daily tasks.
Solution:
import { Text, View, TextInput, Button } from 'react-native';
import { useState } from 'react';

export default function App() {
  const [task, setTask] = useState('');
  const [list, setList] = useState([]);

  const addTask = () => {
    setList([...list, task]);
    setTask('');
  };

  return (
    <View>
      <TextInput value={task} onChangeText={setTask} />
      <Button title="Add Task" onPress={addTask} />
      {list.map((item, index) => (
        <Text key={index}>{item}</Text>
      ))}
    </View>
  );
}
Frequently Asked Questions
What is Expo in React Native?
Expo is a toolchain that simplifies React Native development by removing the need for native configuration. It provides ready-to-use APIs and tools for faster app development.
How do I build APK using expo eas build?
You need to install EAS CLI, run eas init, and then execute eas build -p android. Expo will generate an APK or AAB file in the cloud.
Is Expo good for production apps?
Yes, many production apps use Expo. With EAS Build and updates, it’s reliable and scalable for real-world applications.
Can I use Expo without Android Studio?
Yes, Expo allows you to build and test apps without installing Android Studio by using Expo Go and cloud builds.
How do I deploy my app to Play Store?
Use eas build to generate an AAB file and then eas submit to upload it directly to the Google Play Store.
Summary & Key Takeaways
- Expo simplifies React Native development with minimal setup
- Managed workflow is best for beginners
- expo eas build allows cloud-based app compilation
- Expo SDK provides ready-to-use APIs (Camera, Location, etc.)
- You can build real-world apps like delivery trackers or fee calculators
- Perfect for Pakistani students entering freelancing or startup world
Next Steps & Related Tutorials
To continue your learning journey on theiqra.edu.pk, explore:
- Learn fundamentals in our React Native Tutorial
- Compare cross-platform frameworks in Flutter Tutorial
- Dive deeper into backend integration with Node.js API Development
- Explore UI design with React Native Styling Guide
By mastering this react native expo tutorial, you are one step closer to building professional mobile apps and earning through freelancing or launching your own startup in Pakistan 🚀
Test Your Python Knowledge!
Finished reading? Take a quick quiz to see how much you've learned from this tutorial.