Keycloak Tutorial Open Source Identity & Access Management
Introduction
Modern applications—whether a university portal in Islamabad, an e-commerce store in Karachi, or a fintech app in Lahore—require secure user authentication and authorization. Managing users, passwords, sessions, and permissions from scratch is not only time-consuming but also risky.
This Keycloak tutorial: open-source identity & access management will guide you through one of the most powerful tools used globally to handle authentication and authorization: Keycloak.
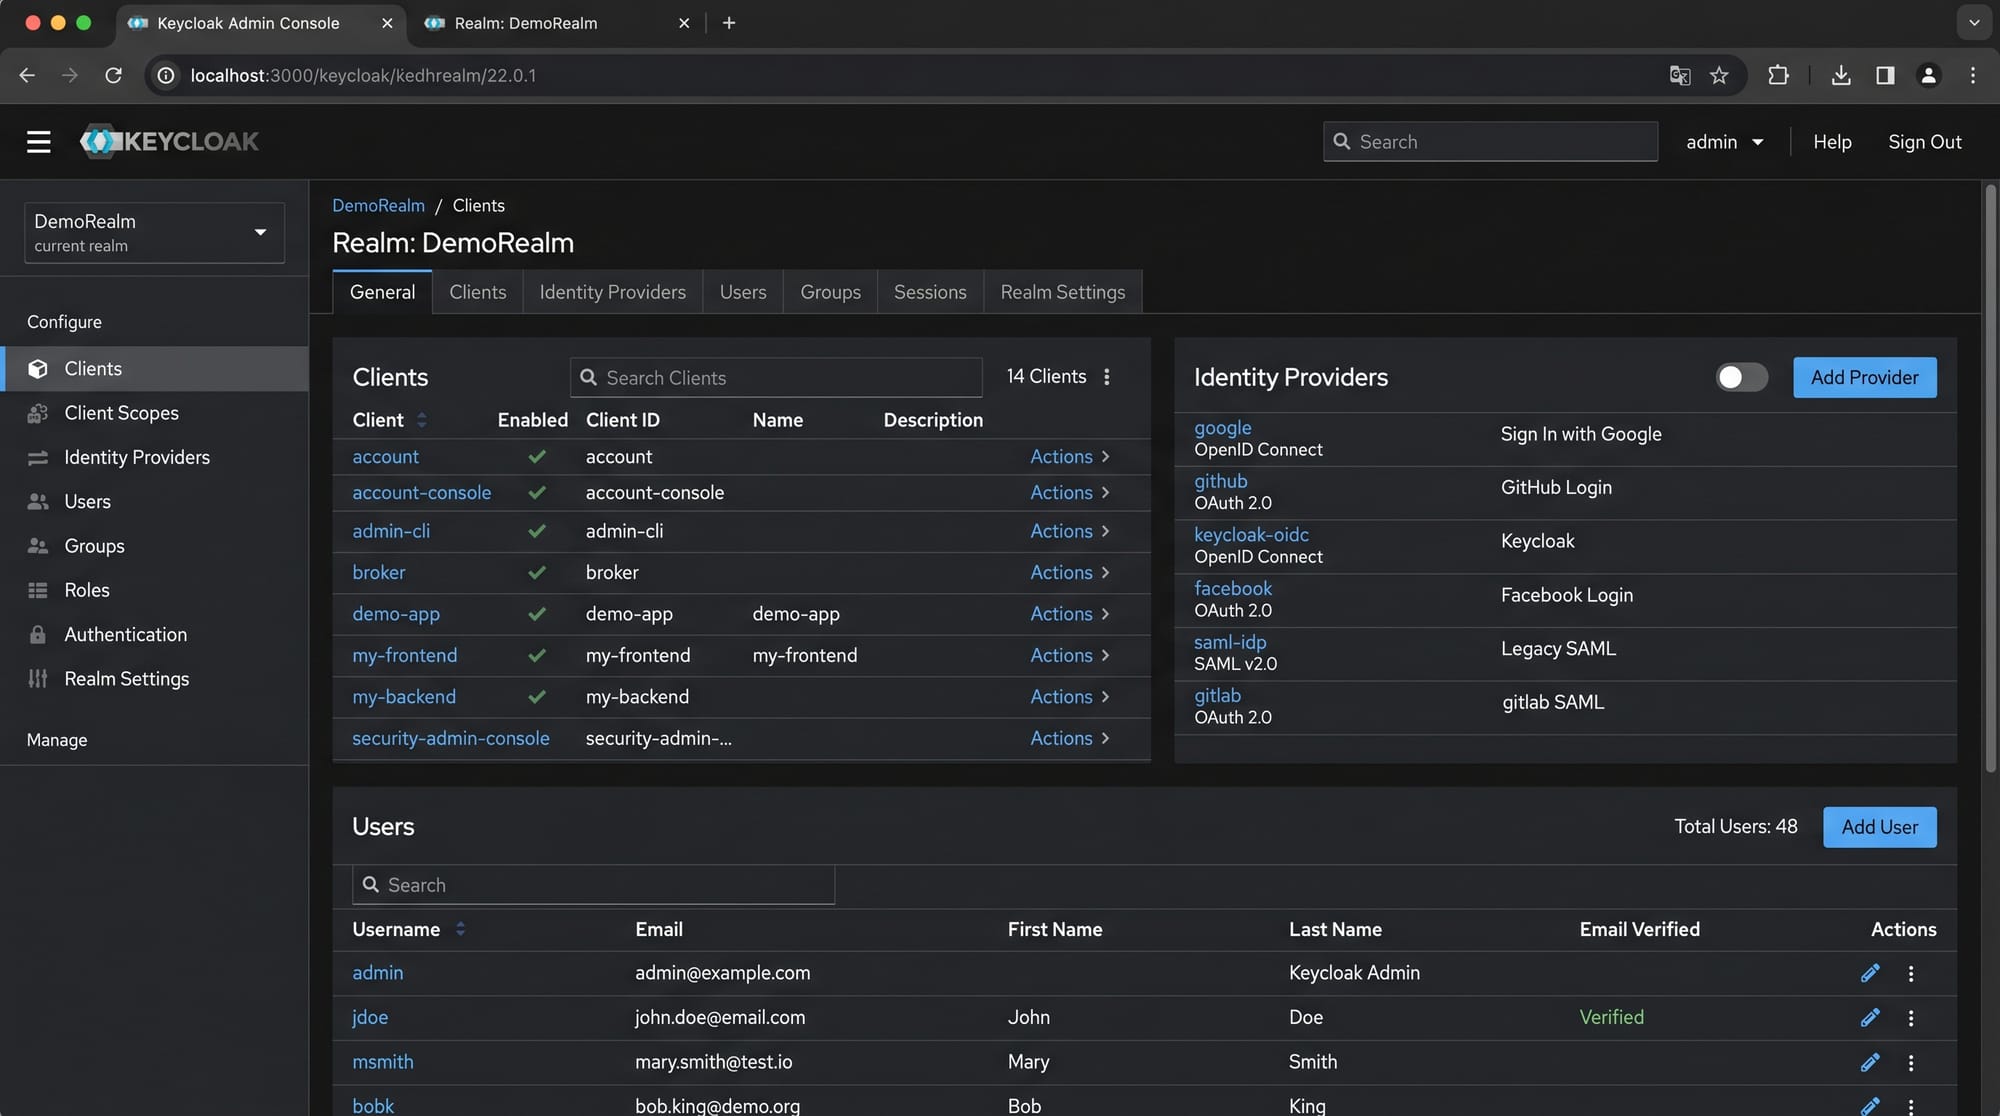
Keycloak is an open-source Identity and Access Management (IAM) solution that provides features like:
- Single Sign-On (SSO)
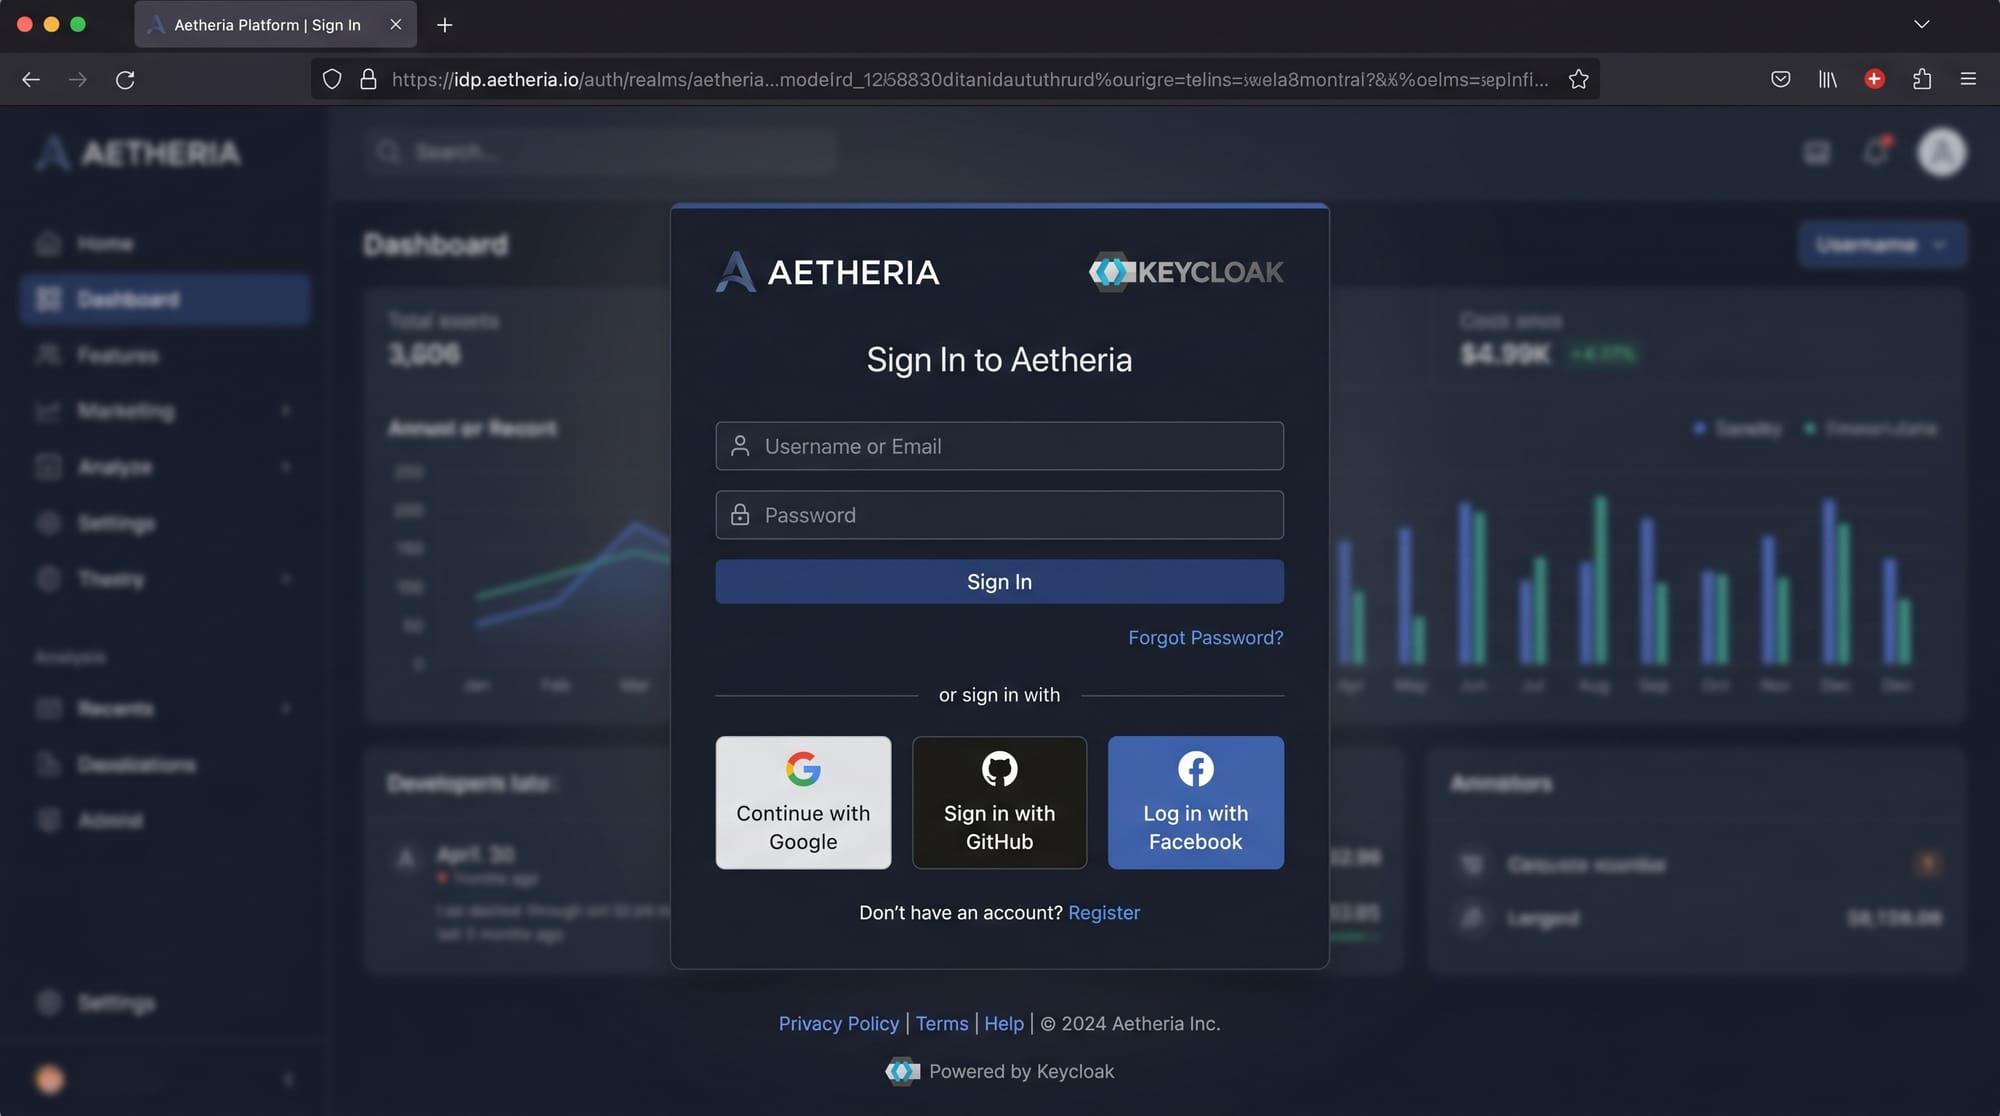
- Social login (Google, GitHub, Facebook)
- OAuth2 and OpenID Connect (OIDC) support
- User federation (LDAP, Active Directory)
- Role-based access control
For Pakistani students and developers, learning Keycloak is especially valuable because:
- Many startups and software houses in Pakistan use secure auth systems
- It saves development time by handling authentication out of the box
- It prepares you for real-world backend and DevOps roles
By the end of this guide, you’ll understand keycloak setup, keycloak oauth, and how to integrate it into real-world applications.
Prerequisites
Before starting this Keycloak tutorial, you should have:
- Basic understanding of web development (HTML, APIs)
- Familiarity with backend concepts (REST APIs)
- Basic knowledge of Docker (recommended but not required)
- Understanding of authentication basics (login, sessions, tokens)
- A computer with:
- Node.js or any backend runtime (optional)
- Docker installed (recommended for easy setup)
Core Concepts & Explanation
Realms, Clients, and Users in Keycloak
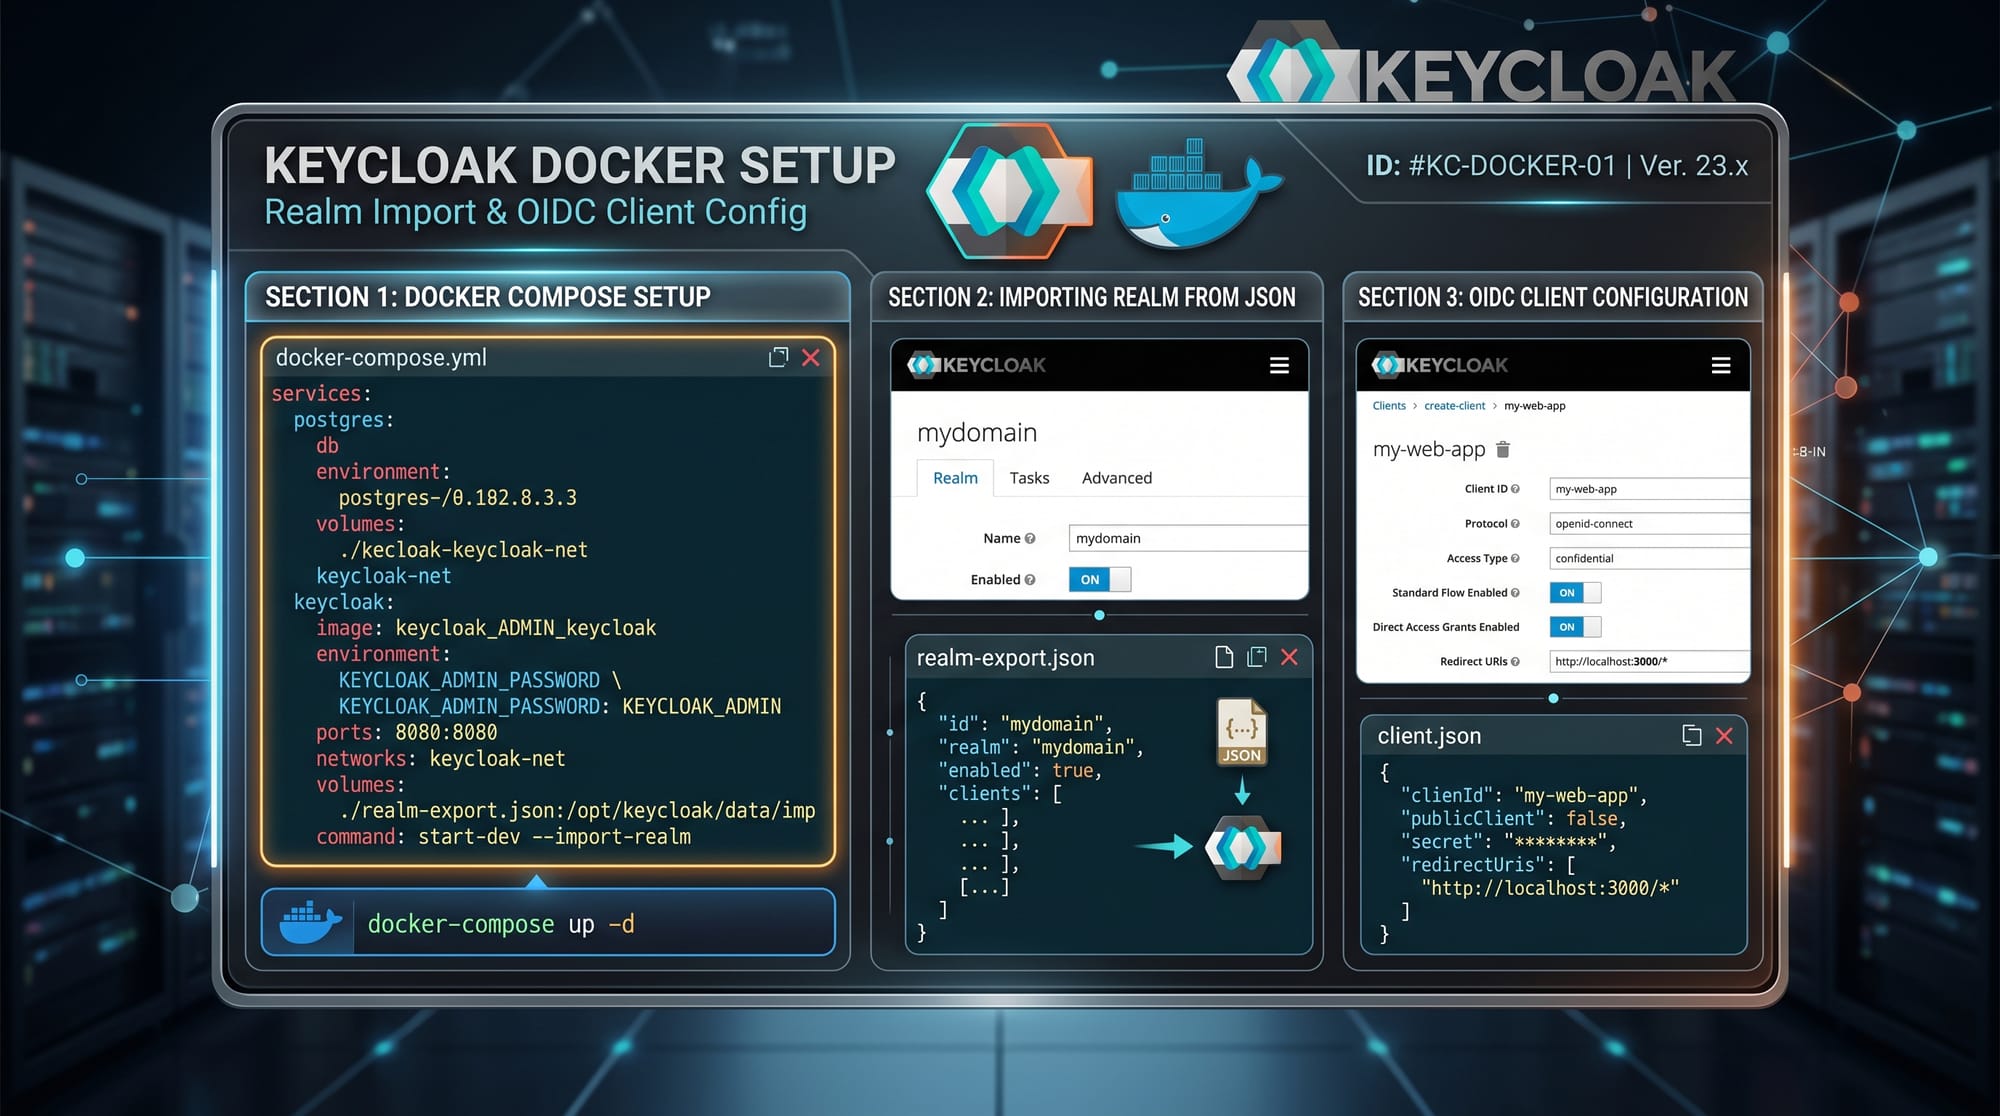
Keycloak organizes everything into realms. Think of a realm as a separate application environment.
For example:
- Ahmad builds a student portal → Realm:
iqra-portal - Fatima builds an e-commerce site → Realm:
fatima-store
Inside each realm:
- Users → People who log in (Ali, Ahmad, Fatima)
- Clients → Applications (web apps, mobile apps, APIs)
- Roles → Permissions (admin, student, teacher)
Example:
- User: Ali
- Role: student
- Client: iqra-portal-web
This structure allows clean separation of applications and users.
OAuth2 and OpenID Connect (OIDC) in Keycloak
Keycloak supports OAuth2 and OpenID Connect (OIDC), which are modern authentication protocols.
Let’s simplify:
- OAuth2 → Authorization (what you can access)
- OIDC → Authentication (who you are)
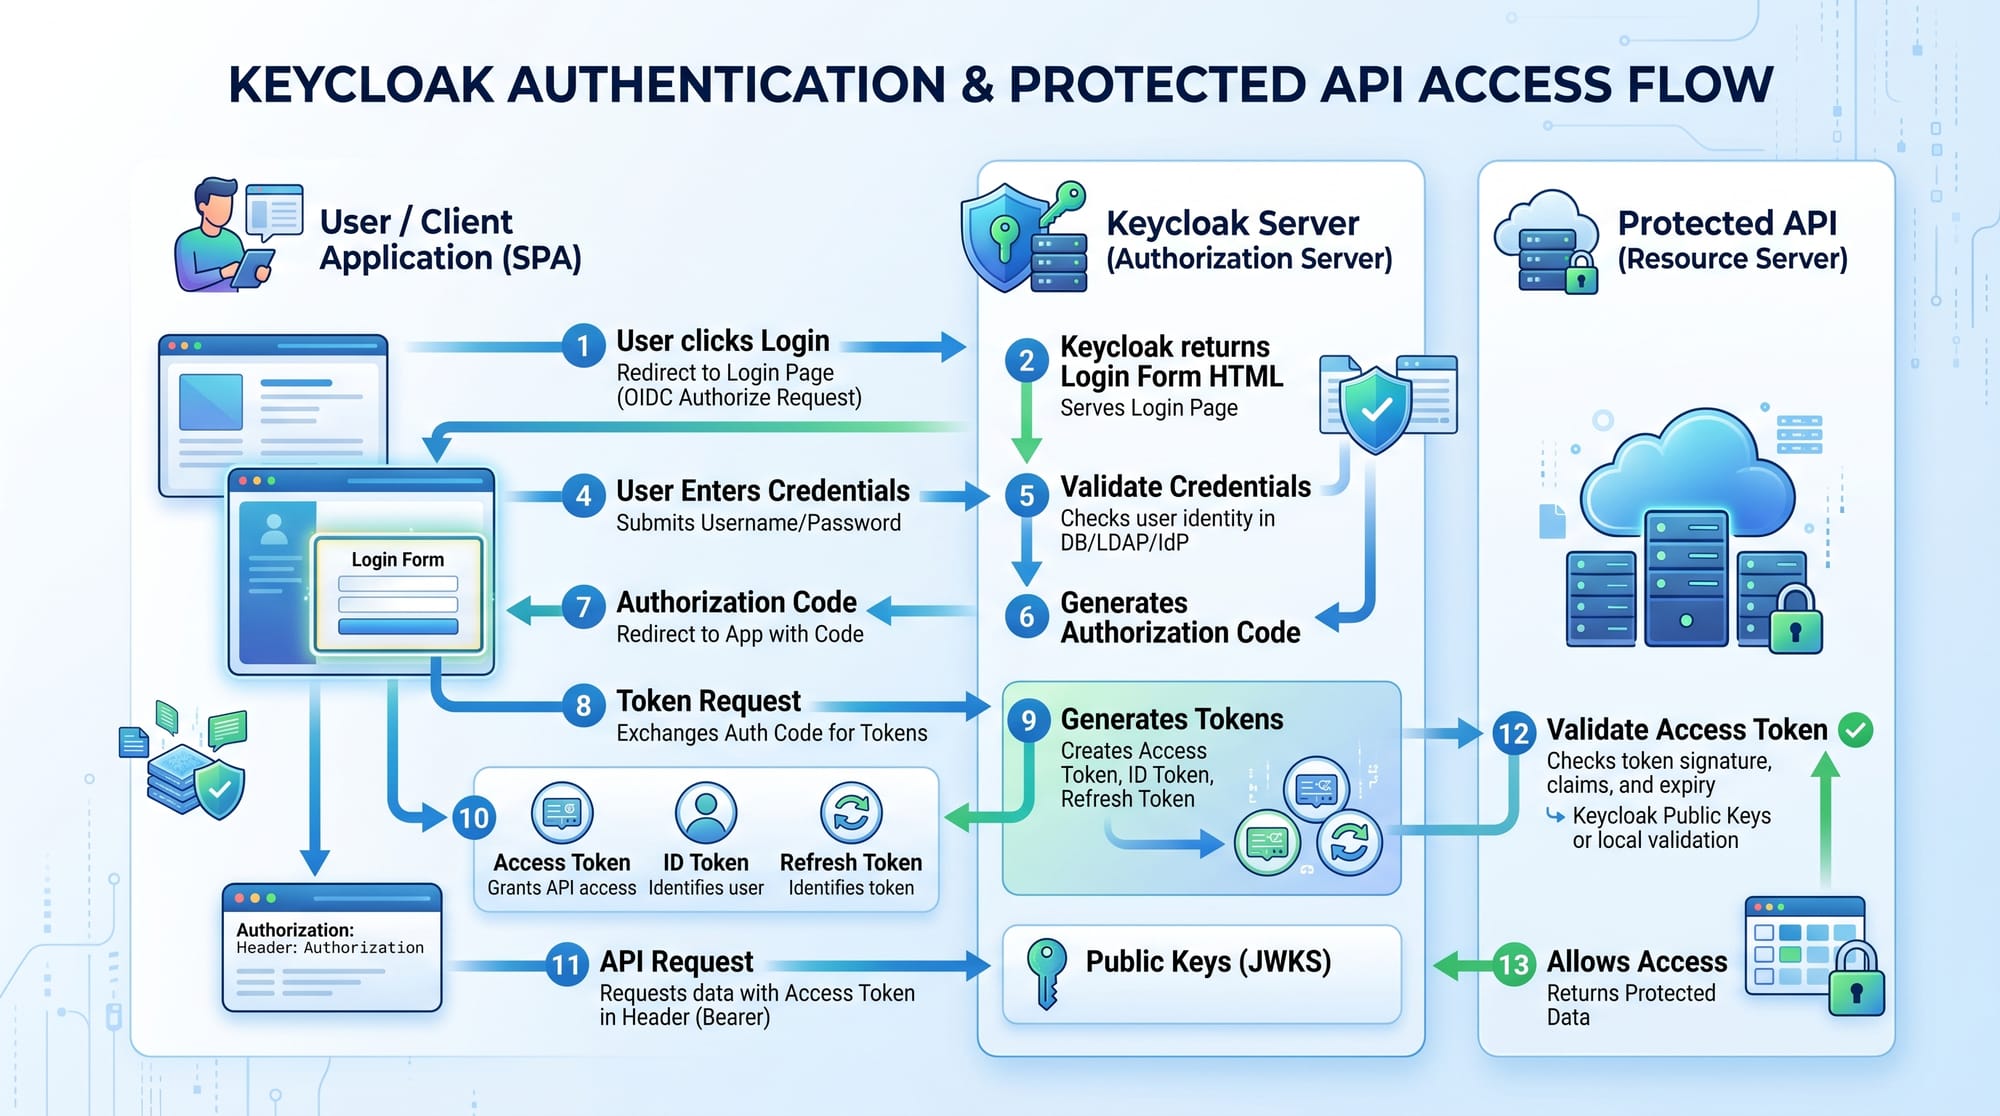
When a user logs in:
- User enters credentials
- Keycloak verifies them
- Keycloak issues a token
- App uses the token to access APIs
Example:
- Ali logs into a Lahore university portal
- Keycloak returns a JWT token
- The app uses this token to fetch Ali’s profile
This is what makes keycloak oauth so powerful.
Practical Code Examples
Example 1: Setting Up Keycloak with Docker
Let’s set up Keycloak locally using Docker.
docker run -p 8080:8080 \
  -e KEYCLOAK_ADMIN=admin \
  -e KEYCLOAK_ADMIN_PASSWORD=admin \
  quay.io/keycloak/keycloak:latest \
  start-dev
Explanation (Line-by-Line)
docker run -p 8080:8080
Runs a container and maps port 8080 so you can access Keycloak in your browser.-e KEYCLOAK_ADMIN=admin
Sets the admin username.-e KEYCLOAK_ADMIN_PASSWORD=admin
Sets the admin password.quay.io/keycloak/keycloak:latest
Pulls the latest Keycloak image.start-dev
Starts Keycloak in development mode (not for production).
Now open:
http://localhost:8080
Login with:
- Username: admin
- Password: admin
Example 2: Creating a Realm and Client (Real-World Application)
Let’s simulate a real-world case: Ahmad builds a university portal.
Step 1: Create Realm
- Go to Admin Console
- Click “Create Realm”
- Name:
iqra-university
Step 2: Create Client
{
  "clientId": "iqra-web-app",
  "enabled": true,
  "protocol": "openid-connect",
  "redirectUris": ["http://localhost:3000/*"],
  "publicClient": true
}
Explanation (Line-by-Line)
"clientId": "iqra-web-app"
Name of your application."enabled": true
Activates the client."protocol": "openid-connect"
Uses OIDC for authentication."redirectUris": ["http://localhost:3000/*"]
Allows redirect after login."publicClient": true
Indicates no client secret is required (good for frontend apps).
Example 3: Node.js Integration with Keycloak
import express from "express";
import session from "express-session";
import Keycloak from "keycloak-connect";

const app = express();

const memoryStore = new session.MemoryStore();

app.use(session({
  secret: "my-secret",
  resave: false,
  saveUninitialized: true,
  store: memoryStore
}));

const keycloak = new Keycloak({ store: memoryStore });

app.use(keycloak.middleware());

app.get("/secure", keycloak.protect(), (req, res) => {
  res.send("This is a protected route");
});

app.listen(3000, () => {
  console.log("Server running on port 3000");
});
Explanation (Line-by-Line)
import express from "express";
Imports Express framework.import session from "express-session";
Handles session storage.import Keycloak from "keycloak-connect";
Imports Keycloak adapter.const memoryStore = new session.MemoryStore();
Stores session data temporarily.app.use(session({...}))
Configures session middleware.const keycloak = new Keycloak({ store: memoryStore });
Initializes Keycloak.app.use(keycloak.middleware());
Enables Keycloak middleware.app.get("/secure", keycloak.protect(), ...)
Protects route—only logged-in users can access.app.listen(3000)
Starts server.
This is a real-world backend integration using keycloak setup and keycloak oauth.
Common Mistakes & How to Avoid Them
Mistake 1: Incorrect Redirect URI
Problem:
Users log in but get redirected incorrectly or see errors.
Example Issue:
Invalid redirect_uri
Fix:
Ensure correct configuration:
"redirectUris": ["http://localhost:3000/*"]
Explanation
- Must match your frontend URL exactly
- Wildcards (*) help during development
- In production, use exact URLs
Mistake 2: Using Dev Mode in Production
Problem:
Running Keycloak with start-dev in production.
Why it’s bad:
- Not secure
- Not optimized
- No clustering
Fix:
Use production mode:
bin/kc.sh start
Explanation
start→ production mode- Enables proper security settings
- Supports scaling
Mistake 3: Not Using Roles Properly
Problem:
All users have same access.
Fix:
- Create roles:
- student
- teacher
- admin
- Assign roles per user
Example:
keycloak.protect("realm:admin")
Explanation
- Restricts route to admin users only
- Improves security
Practice Exercises
Exercise 1: Create a Secure Login System
Problem:
Ahmad wants to secure his LMS portal.
Tasks:
- Create a realm
- Add a client
- Add a user
- Protect a route
Solution:
- Create realm:
lms-portal - Add client:
lms-web - Create user: Ahmad
- Use:
app.get("/dashboard", keycloak.protect(), (req, res) => {
  res.send("Welcome to dashboard");
});
Explanation
keycloak.protect()ensures authentication- Only logged-in users can access
Exercise 2: Role-Based Access Control
Problem:
Fatima wants:
- Students → view courses
- Admin → manage courses
Solution:
app.get("/admin", keycloak.protect("realm:admin"), (req, res) => {
  res.send("Admin panel");
});
Explanation
"realm:admin"restricts access- Students cannot access admin routes
Frequently Asked Questions
What is Keycloak used for?
Keycloak is used for managing authentication and authorization in applications. It allows developers to add login systems, SSO, and role-based access without building everything from scratch.
How do I set up Keycloak quickly?
You can use Docker to run Keycloak in minutes. A simple docker run command starts the server, and you can access the admin panel via a browser.
What is Keycloak OAuth?
Keycloak OAuth refers to using OAuth2 protocol within Keycloak to manage access tokens and authorization. It ensures secure communication between applications and APIs.
Can I use Keycloak with React or Node.js?
Yes, Keycloak works with frontend frameworks like React and backend frameworks like Node.js. It provides adapters and supports standard protocols like OIDC.
Is Keycloak free to use?
Yes, Keycloak is completely open-source and free. It is widely used in enterprises and startups, including many software houses in Pakistan.
Summary & Key Takeaways
- Keycloak is a powerful open-source IAM tool for authentication and authorization
- It supports OAuth2 and OpenID Connect for secure login flows
- Realms, clients, and roles are core building blocks
- Docker makes keycloak setup quick and easy
- Role-based access control improves application security
- It’s widely used in real-world Pakistani tech projects
Next Steps & Related Tutorials
To continue your learning journey, explore these related tutorials on theiqra.edu.pk:
- Learn how to secure APIs in our API Authentication Tutorial
- Master containerization with our Docker Tutorial
- Understand modern APIs in our GraphQL Tutorial
- Dive deeper into backend networking with our SSH Remote Access Guide
These topics will strengthen your understanding of authentication, deployment, and real-world backend systems.
Test Your Python Knowledge!
Finished reading? Take a quick quiz to see how much you've learned from this tutorial.